Windows 10 - Favorite Settings
As we’ve seen already, Windows 10 uses the new Settings app for most of its configuration. And although the Settings app can be easily accessed through the Start menu, Windows 10 also allows you to “pin” your favorite setting apps to the Start menu for even easier access. A “pinned” setting app will appear directly in the tiles of your Start Menu.
Pin your Favorite Settings
To “pin” your favorite settings to the Start Menu, follow these steps −
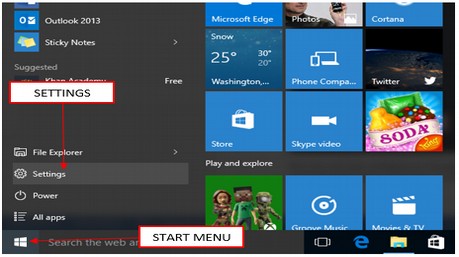
Step 1 − Open the Settings window from the Start Menu.
Step 2 − In the Settings window, point to your favorite settings and right-click.
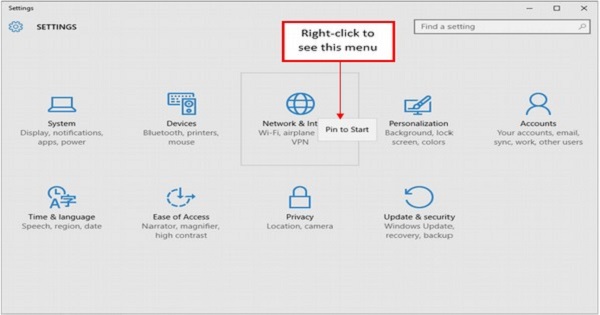
Step 3 − On the small menu that appears, select Pin to Start.
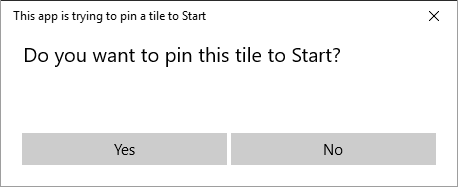
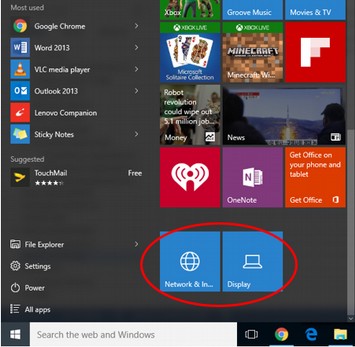
Step 4 − Click Yes on the screen to confirm the action. After this, you will see the Network & Internet app directly in the Start Menu.
You can also pin more specific setting apps. To do this, follow these steps −
Step 1 − Open the Settings window again.
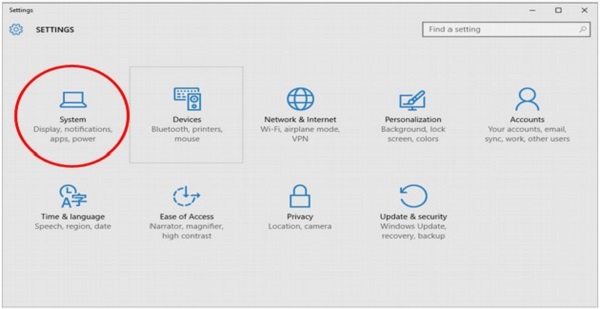
Step 2 − On the SETTINGS window, click on System.
Step 3 − On the SYSTEM window, right-click on Display.
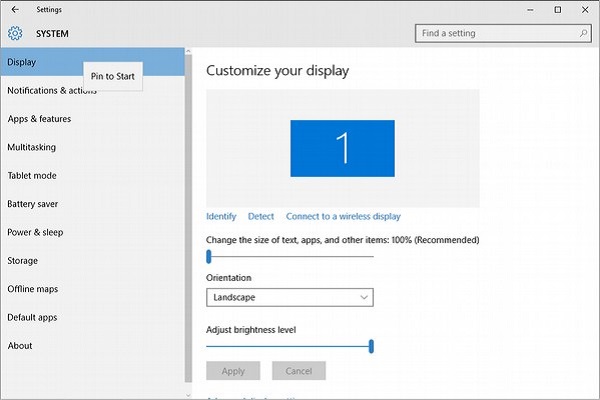
Step 4 − From the small menu, select Pin to Start. Like the previous example, this will pin the Display setting to the Start Menu.
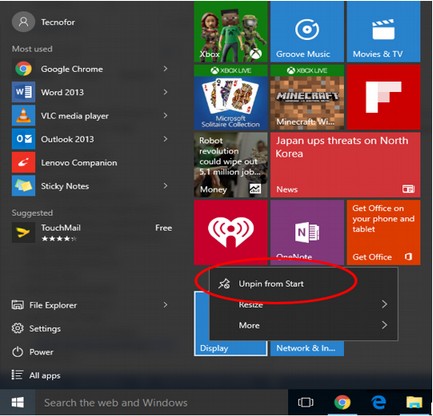
Unpin your Favorite Settings
Alternatively, you can remove any pinned app from the Start Menu just by right-clicking on it and choosing Unpin from Start.